This article teaches you how to implement free, fast, and local search using Fuse.js in Next.js with SSR. If you are looking for an API docs provider with great out-of-the-box search functionality, consider using Konfig to host your API docs.
The Problem
Most websites worth its salt have a search bar. It's a great way to help users find the content they need quickly. To migrate one of our customers at Konfig from ReadMe to our Docs product, we needed to reach feature parity with ReadMe's product, which meant adding search functionality.
What we built
A fast, and local-first search bar with fuzzy search, highlighting. Oh, and it's free to host and depends on 0 external services making the experience fast.
Try it out for yourself at our customer SnapTrade's Docs.
How did we do this?
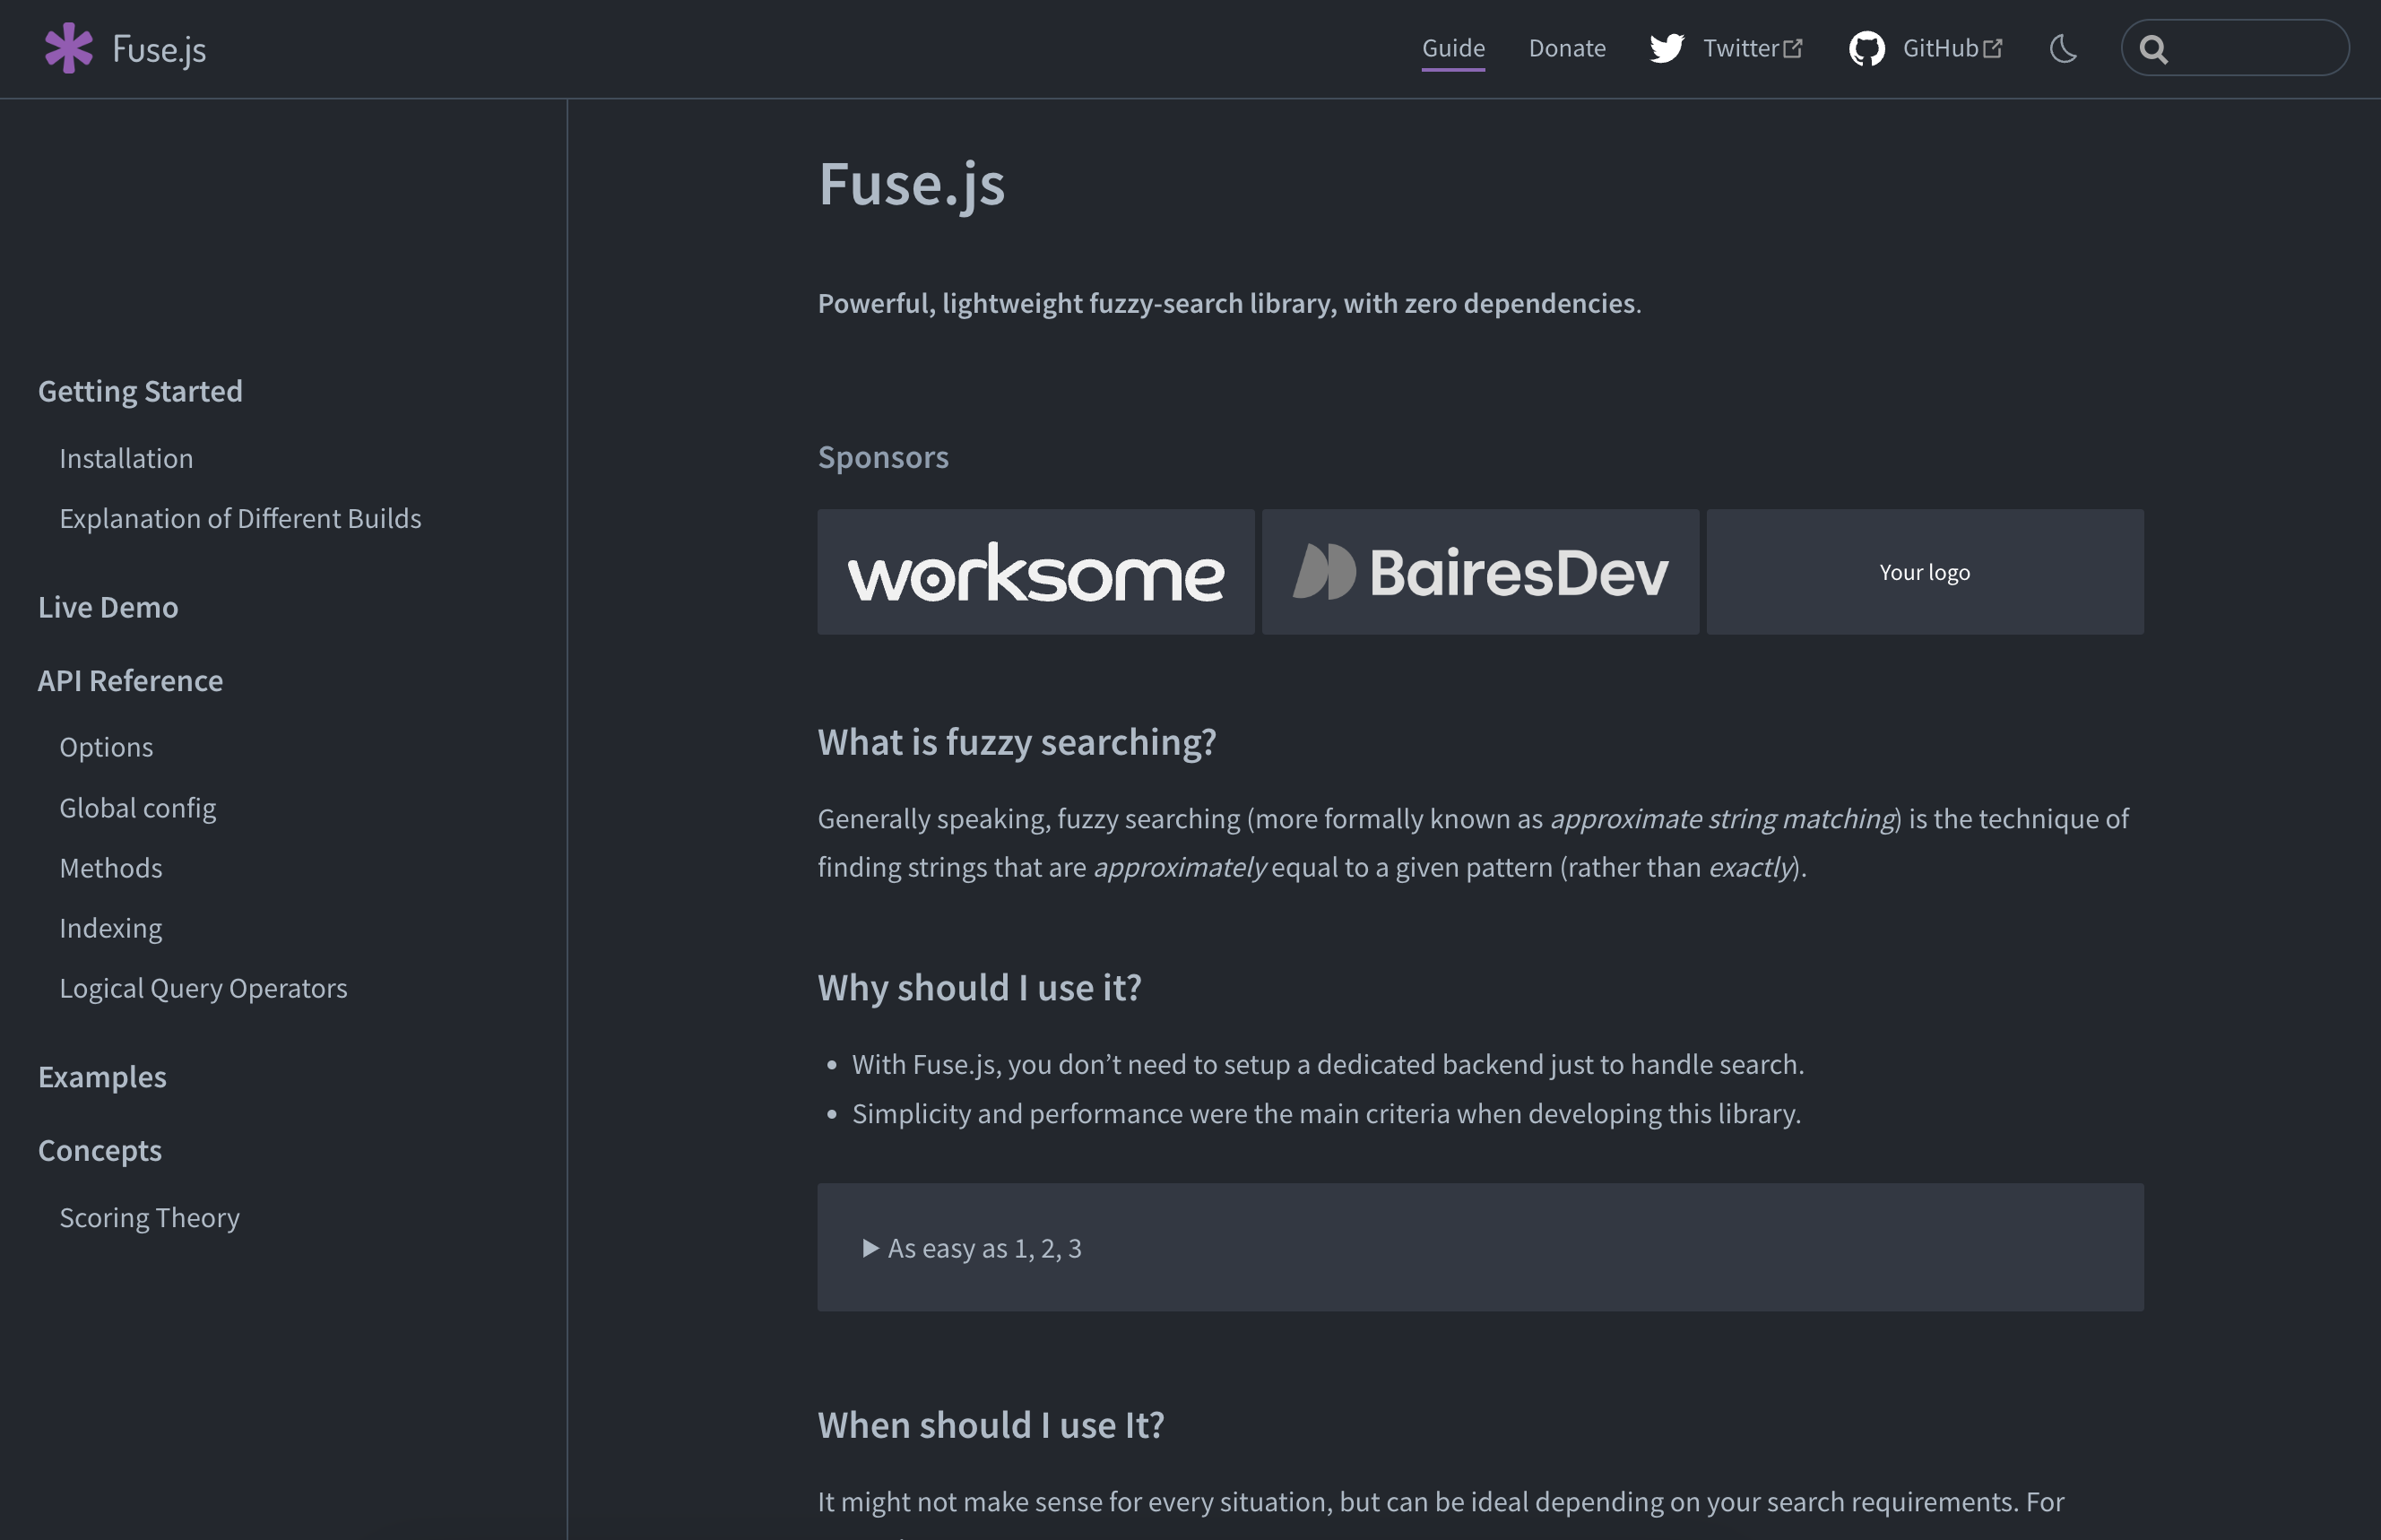
We used a neat open-source library called Fuse.js. It's a lightweight library that allows you to implement fuzzy search in your app.

Fuse.js has a lot of stars and a decent amount of downloads on NPM. It's also actively maintained. Great library, I highly recommend it.
| GitHub | NPM |
|---|---|
 |  |
Why use Fuse.js instead of Algolia?
In our case, the requirements were as follows:
- Cheap/free
- Simple, preferably local-first/no external dependency
- Fast, it should feel snappy
- Error-prone, typos should be handled gracefully
- Supports custom indexing of markdown files and JSON data (for OpenAPI generated docs)
- Supports isolated indexing of docs for each customer as each of our customers has their own domain connected to our docs product
- Works with SSR (in our case we are using Incremental Static Regeneration) in Next.js
Algolia could have solved our problem and it's a great service, but it's free tier is a little limited and I was a little worried about the cost of scaling it up at $0.50 per 1,000 search requests.

Algolia is also not local-first. This means that you have to send your data to Algolia and then query it through their API. This is fine, but it's not ideal.
We also have one important characteristic to our search problem: the size of all indexed content can comfortably fit in the browser. This made it an even easier decision to go with Fuse.js. Furthermore, by just connecting a few dots, it was easy enough to build search functionality for our docs product so we decided to go with Fuse.js.
How to implement search functionality using Fuse.js with Next.js SSR
Note that this tutorial assumes a couple things:
- You have some familiarity with Next.js and React
- A little TypeScript Proficiency
- You are using Next.js using the pages router as opposed to the new app router. If you are using the new app router, you will need to modify the code in this tutorial.
- You are using SSR to generate your pages at runtime
The code in this tutorial is a pseudo-code implementation of the search functionality we built for our Docs product. It is not a copy-paste solution. You should use the provided code as a guide but will need to modify the code to fit your application.
Search functionality can be broken down into three main parts:
- Aggregate the content to index
- Index the content for fast queries
- Render a UI to make queries on the index
Adding Fuse.js to your Next.js project
First, ensure Fuse.js is installed in your project.
Create an SSR page in Next.js
Create a page in Next.js that uses SSR to generate the page at runtime. Here is a simple example of a page that uses ISR to generate the page at runtime.
The following SSR page includes the entire implementation for this tutorial and in subsequent sections, we will break down the implementation step-by-step.
Create a data structure to represent the content to index
In our case, it was enough to simply create a type that included:
id- the unique subpath for this recordcontent- the content to indextitle- the title of the content
For an explanation of indexing different types of data structures, take a look at the Fuse.js docs.
Aggregate the content to index
While generating props for your page, aggregate all the content you want to
index for searching in getStaticProps / getServerSideProps. For your application, you will need to decide what
content you want to aggregate for searching. In our case, we wanted to index the
following content:
- Markdown files
- JSON files that represent OpenAPI Specifications
The returned content should contain information from pages other than the
currently rendered page. For example, if you are on the page /foo, you will
want to aggregate the content from /bar and /baz as well.
Once you decide what to index, you should pull that information from whatever data source you are using. In our case, we are using the file system to store our content. In our particular case, we used the GitHub API as our Docs product uses GitHub as a CMS.
Once you have indexed your content, you can pass your SearchRecord[]
along as a prop to your page.
Index the content for fast queries
Let Fuse.js do the heavy lifting here.
Since all the content necessary for searching is already available in the browser, we can index the content in the browser. This is a great way to implement search functionality without having to rely on external services.
If your content is too large to pass as a part of the initial page load, you can index the content on the server and then send the index to the browser after the page loads to unblock a fast page load. If the content is too large to index on the browser, then it is worth reconsidering using an external service like Algolia.
It's incredibly easy to index content using Fuse.js. All you need to do is
instantiate a new Fuse object with the content you want to index and the
options you want to use for searching.
Options we used for Fuse.js
See the Fuse.js docs for a full list of
its options and explanations. For our product, these settings yielded the most
intuitive search experience as the content property could be lengthy (hence ignoreLocation: true) and matching
the title was important (hence fieldNormWeight: 2).
Render a UI to make queries on the index
Now that we have indexed the content, we need to render a UI to make queries on the index. This is the fun part. You can use Fuse.js to make queries on the index and then render the results however you want.
We used Mantine's Spotlight Component which made it incredibly easy to create a good-looking search bar. We added some extra functionality for highlighting exact substring search matches as you type and configuring the CMD + K and CTRL + K keyboard shortcuts.
Wrapping up
In this tutorial, we learned how to implement free, fast, and local search using Fuse.js with Next.js SSR. We did this by following three main steps:
- Aggregating all content to search
- Indexing the content
- Rendering a UI to make queries on the index.
Hopefully, this tutorial helped you understand how to add search functionality for your Next.js application. If you have any questions, feel free to reach out to me at dylan@konfigthis.com.
